Homemade Ravioli
~ Lasagna Style ~
For those of you who may know me personally...you'll know I love anything Italian - the culture, language, people, food - you name it and I'm there! So, naturally, I love making pasta and I've been dying to make homemade ravioli!!
So, I planned a Grammy-Granddaughter day and that's exactly what we did. With Grammy as my sous chef (keeping the kitchen nice and clean as I constantly produced a mess), we made homemade ravioli! And the best part (besides eating it)? It was so easy!!
Now, there are tons of recipes in this internet-world of ours for homemade pasta dough, cheese fillings, sauces - I say just find one you like and go for it! I used a Taste of Home recipe, found
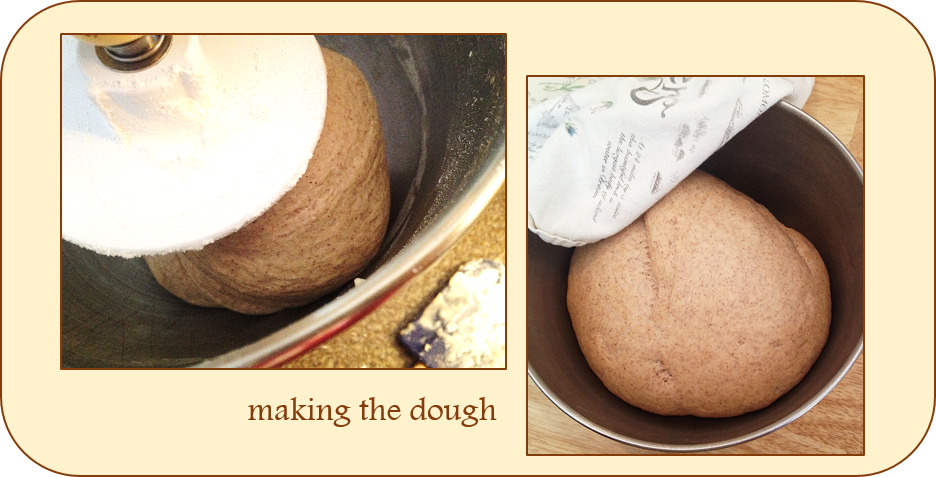
here (or at the bottom of this post), for the dough part. That being said, 6 cups of flour, 6 eggs, 3/4 cups of water, 2 teaspoons of olive oil, and 8-10 minutes of kneading later, (and quite a work-out, let me tell you!) and we had perfect dough! I realize some dough recipes can be kneaded in the mixer, or made and rolled through special attachments/devices. I, however, wanted to get right to the roots of this Italian dish and do it by hand! (But you, my dears, can choose whichever method you prefer.)
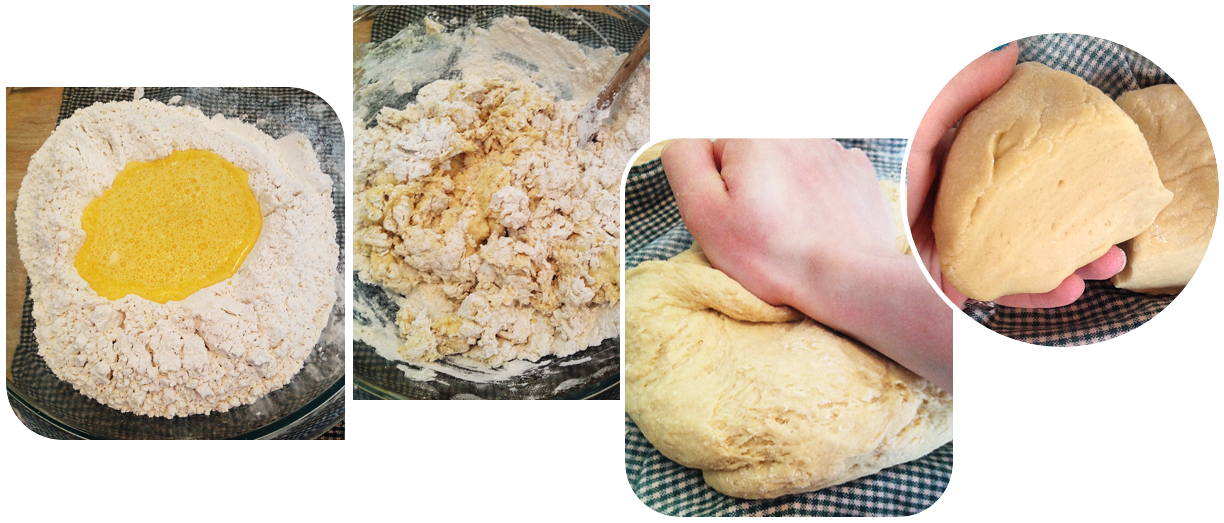 |
| Making the dough |
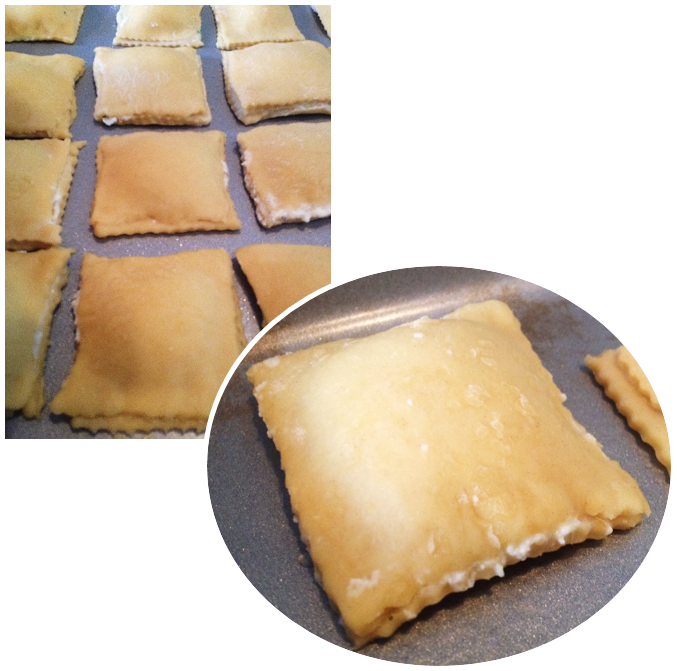
Working with this dough was so nice!! As a note, I cut the dough into eighths before rolling it, so I could get nice, thin sheets to cut with my ravioli cutter. (Yes, I used a pastry/ravioli cutter and
not a stamp or press. I feared dough sticking to a press and wanted to break out my new cutter.)
As for my filling, I did not follow a recipe. Instead, I let the 'Posh' be my guide, as I combined part-skim ricotta cheese with spinach, a handful of shredded mozzarella cheese, a few shakes of grated Parmesan, and a whole mess of Italian seasonings (plus garlic salt and pepper). A few taste tests later and it was ready to go!
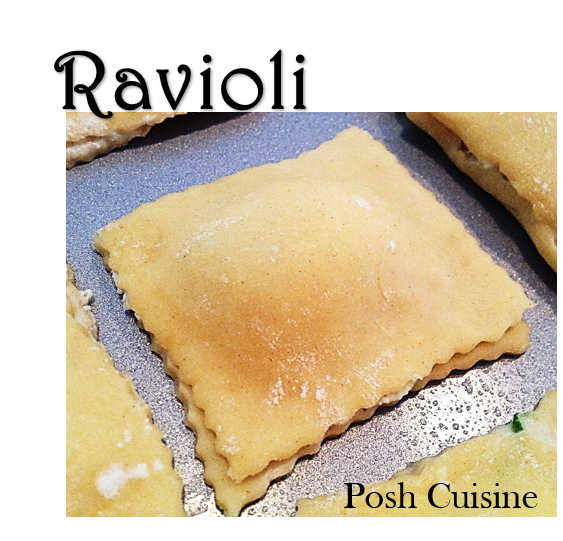
So, onto a lightly dampened square of dough goes a heaping teaspoonful of filling, before being sandwiched by another damp square. Press the edges of the two squares together and viola!
 |
| Ravioli! |
Okay, I know I'm making it seem
way too easy here...This is where it's nice to have a second pair of hands (thank you Grammy!) because
this recipe makes a
lot of ravioli. (I want to say we ended up with 46...) And it is a bit messy. You see, I have a slight tendency to
overfill things, and when it comes to sealing the edges... let's just say perfection is for machines! I like the look of cheesy goodness oozing from the sides - it means there's actually more to the ravioli than just pasta with a little dollop of cheese! (At least that's my reason and I'm sticking to it.)
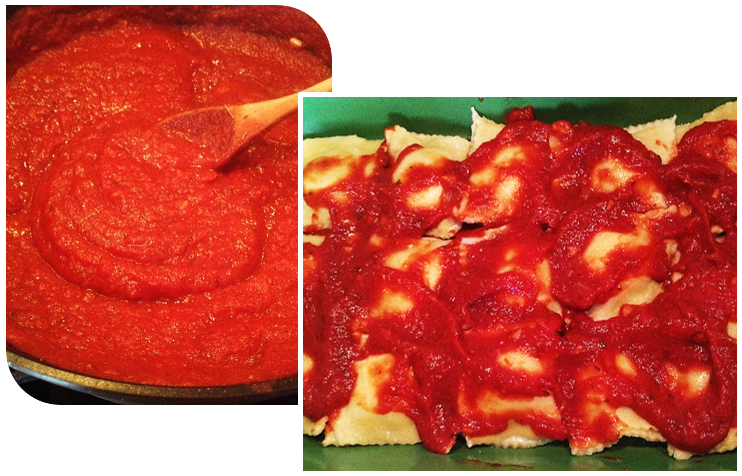
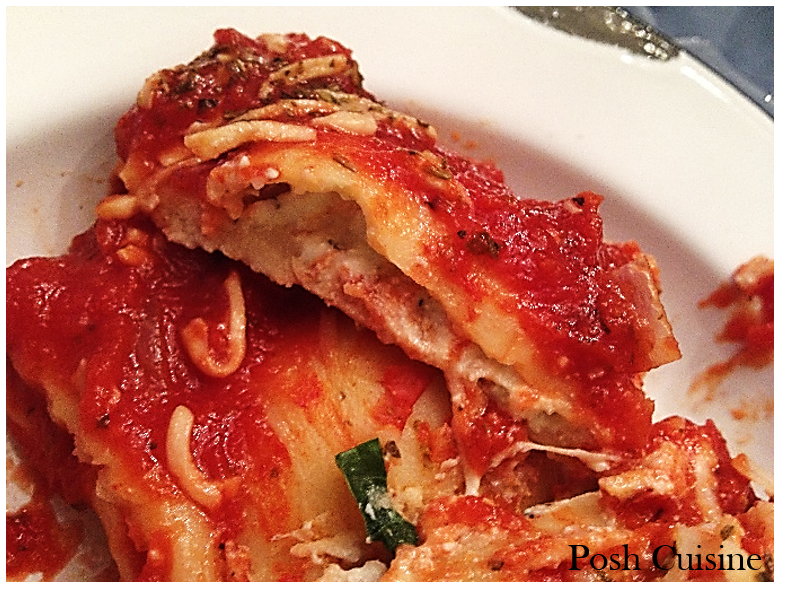
So, 46 ravioli and another mess in the kitchen later, and they were ready for boiling! I boiled about 6 at a time for two minutes (or until they floated to the top of the water) and it couldn't have been any easier! Even the few which may not have been sealed the best because of an excess of filling (hehe) boiled perfectly, totally keeping their shape! Now, you can stop here and serve with sauce, bake/fry them, devour as is - the choice is yours! Seeing as this Grammy-Granddaughter day should end with a nice, complete dinner, I layered the ravioli into a 13x9 pan and made them into ravioli - lasagna style!
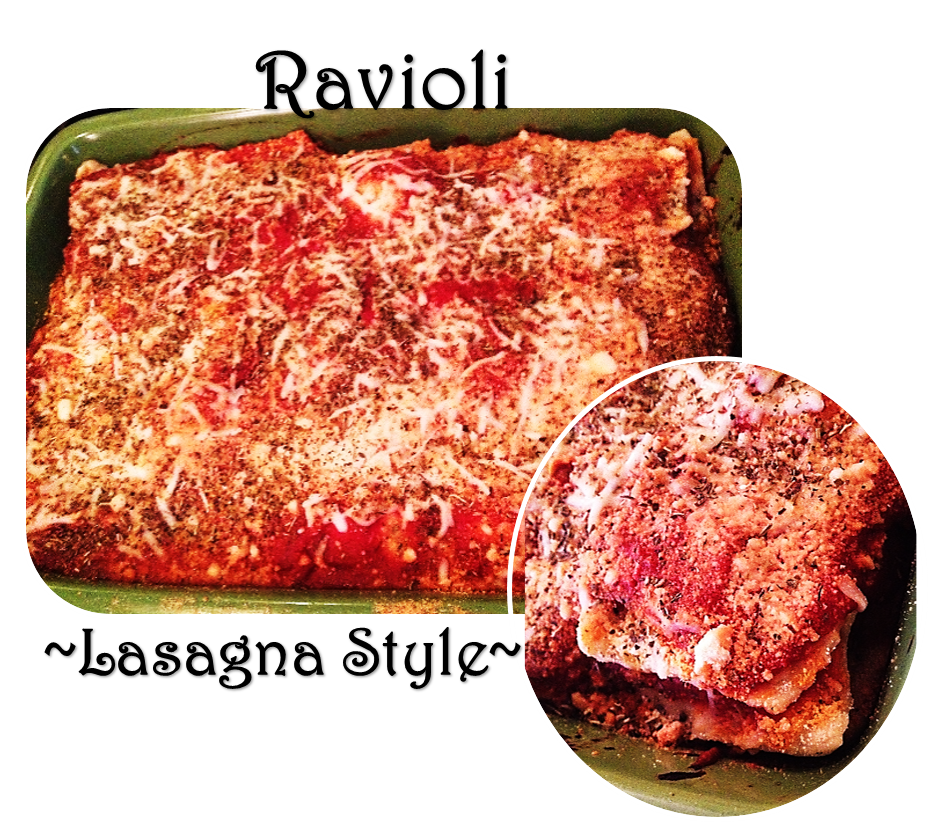
If you think making lasagna is easy (and even if you don't and think it's the most time consuming thing in the world) - ravioli lasagna is WICKED EASY! I'm not even kidding! There's no sticky lasagna noodles, no smearing of the ricotta mixture, no forgetting a layer, and serving is a breeze! Being 3 layers deep, each serving held 3 perfect ravioli! (Leaving plenty of room for seconds and thirds, of course.)
Also, each ravioli fit across the pan perfectly, and as for the sauce - the recipes are endless. There is a recipe for sauce, located
here, or you can use your own. Perhaps you want to keep it easy and buy a jar of sauce? Do whatever works for you! I made my own sauce, again letting the 'Posh' be my guide, as I guessed on the measurements and seasonings, and it came out great! Unless you're my mom and want the recipe...
Mom: "Wow! This is the best sauce I've ever had! You have to give me your recipe!"
Me: "Uh...my recipe... about a handful of this, a scoop of that... maybe some more of this..."
Mom: "Yeah. Thanks."
Needless to say, the ravioli was a big hit! (No one leaves this house hungry, that's for sure!) Served with a fresh green salad and homemade rolls, our Italian dinner, and a fantastic Grammy-Granddaughter day, was complete!
So, if you have the time, because this recipe does take a bit of time, or you want to try your hand at homemade pasta - this is a great place to start! The recipe for this dreamy, easy to work-with dough can be found again
here, and poshed in so many ways! Next, I'd like to try a butternut squash filling in a creamy white sauce, or serve the ravioli baked, with marinara sauce on the side!
Or, perhaps you'd like to try this 'ravioli lasagna-style' with your favorite fresh/frozen ravioli from the store, some sauce and cheese. It makes for an easy, Italian dish I'm sure you'll love! Keep it posh, my friends!
With love (for food),
Ellen
-- A dash of posh can make all the difference in your next dish! --

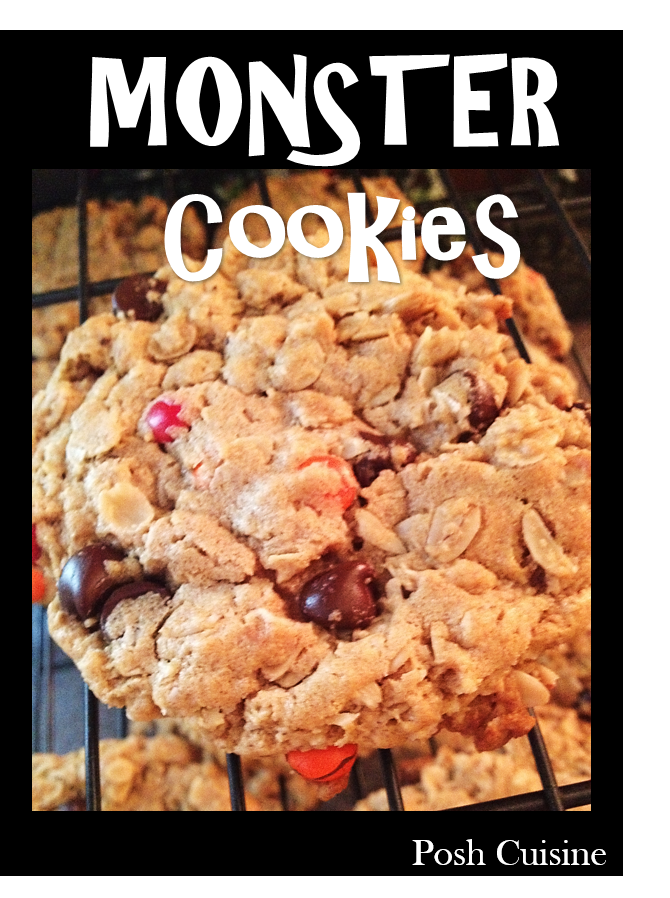

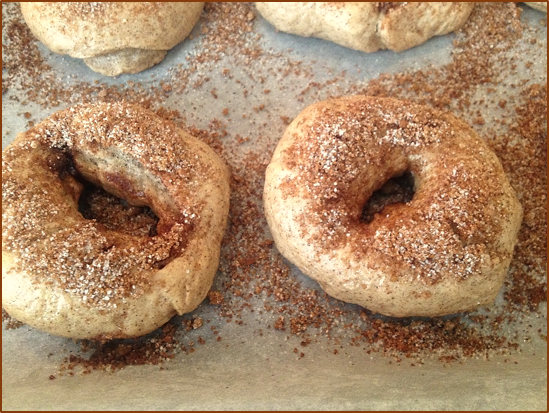
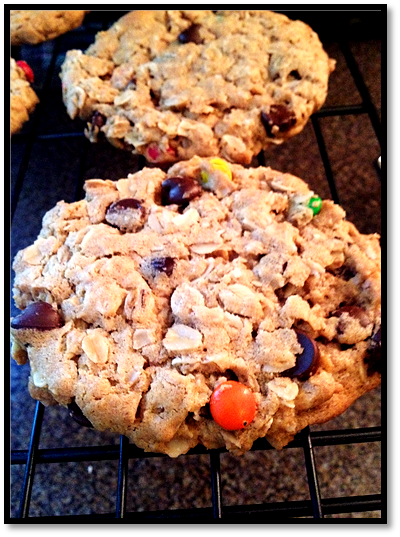 I followed this recipe as instructed, merely using mini m&ms and an entire bag of dark chocolate chips... who can blame me? And trust me, this recipe makes a LOT! And they're HUGE! Feel free to make them as big or as small as you'd like (mini monsters!). Oh! I also pressed mine slightly before baking (or rather, before staring into the oven, waiting for them to be finished...). Now, posh these up however you like! (Coconut, walnuts, Reese's Pieces, chocolate chunks, chocolate peanut butter - the posh is endless!)